How to Regrout a Bathtub
If the grout around your bathtub has started to crumble and fall out, it means it is time to regrout. If you have seat time and an affinity for DIY projects, you can try to tackle this task. Here is a quick guide for how to do it.
First, it is important to gather all of the materials and tools you need for the job. Here’s what you will need.
-Grout removal tool or grout saw
-Grout (unsanded or sanded, depending on the gap size)
-Grout float
-Grout sponge or damp cloth
-Bucket of water
-Respirator mask
-Safety glasses
-Gloves
-Caulk (optional)
-Caulking gun (if using caulk)
-Utility knife
-Grout sealer (optional)
Step 1: Prepare the Area
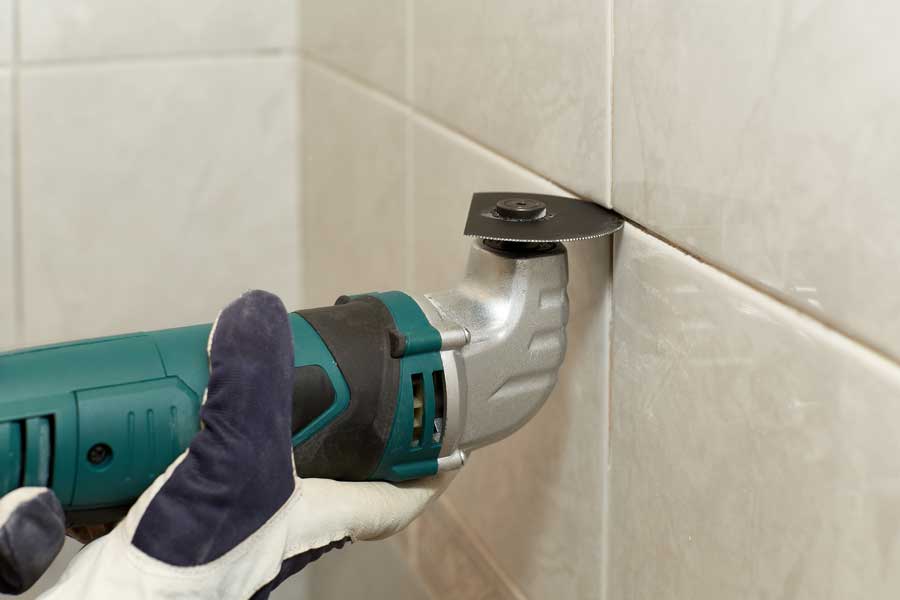
Remove any caulk or old grout from the bathtub and surrounding tiles using a grout removal tool or grout saw. Make sure the surfaces are clean and free from debris.
Step 2: Choose the Right Grout
Select the appropriate type of grout for your project. Unsanded grout is suitable for narrow gaps (1/16 inch or less), while sanded grout is used for wider gaps.
Step 3: Mix the Grout
Follow the manufacturer's instructions to mix the grout. Usually, this involves combining the grout powder with water until you achieve a smooth, lump-free consistency.
Step 4: Apply the Grout
Using a grout float, apply the mixed grout to the gaps between the tiles. Press it firmly into the gaps, ensuring they are completely filled. Work in small sections to prevent the grout from drying too quickly.
Step 5: Remove Excess Grout
After applying the grout, use the edge of the grout float or a damp cloth to remove excess grout from the tile surfaces. Be gentle to avoid pulling the grout from the gaps.
Step 6: Clean and Shape the Grout Lines
Once the grout starts to set (but is not completely dry), use a damp sponge or cloth to clean the tiles and shape the grout lines. Rinse the sponge frequently and wipe diagonally across the tiles to avoid pulling grout from the gaps.
Step 7: Let the Grout Cure
Allow the grout to cure for the time specified by the manufacturer. This typically takes about 24 hours.
Step 8: Apply Grout Sealer
Applying a grout sealer can help protect the grout and prevent future staining. Follow the manufacturer's instructions for applying the sealer.
Step 10: Final Cleanup
Once the grout and caulk (if applicable) have fully cured, give the bathtub and tiles a final clean to remove any remaining residue or haze.
Regrouting your bathtub can be a bit time-consuming but is generally a straightforward process for a DIY enthusiast. Properly maintained grout not only improves the aesthetics of your bathroom but also helps prevent water damage by sealing gaps and preventing water from seeping into the walls or subfloor. If you do not think you have the time or skills needed to tackle this project, Grout Restoration Works would be happy to do it for you. We already have all the tools and materials needed to perform this service and provide you with professional and long lasting results.
11-9-2023


