How to Clean Up Grout Haze
May 1, 2025
You did it! Your first DIY project of the summer. The tile is in, the lines are crisp, and your new backsplash/floor/shower wall is looking fabulous… until you step back and realize it’s covered in a weird, chalky film that makes everything look like it was installed during a sandstorm.
Congratulations, friend—you’ve met the sneaky, stubborn villain known asgrout haze. But don’t panic (and definitely don’t start scrubbing with steel wool).Grout Restoration Worksis here to help you evict that hazy intruder and let your tile sparkle like it was born to.
First Off, What Is Grout Haze?
Grout haze is the thin layer of leftover grout that dries on the surface of your tiles during installation. It’s not a full-blown grout spill, just a ghostly film that makes your beautiful tile job look... well, kinda dusty and sad.
It’s especially visible on glossy or dark tiles. It’s also sneaky. It might not show up until a day or two after you thought you were done. Surprise!
Don’t Wait Too Long
If your tile install was yesterday, congratulations—you’re in the golden window. Fresh haze is easier to deal with than haze that’s been baking into your tile like it’s sunbathing in Florida.
So as soon as the grout has cured (typically 24 hours), it’s time to tackle the haze.
Start with the Gentle Touch
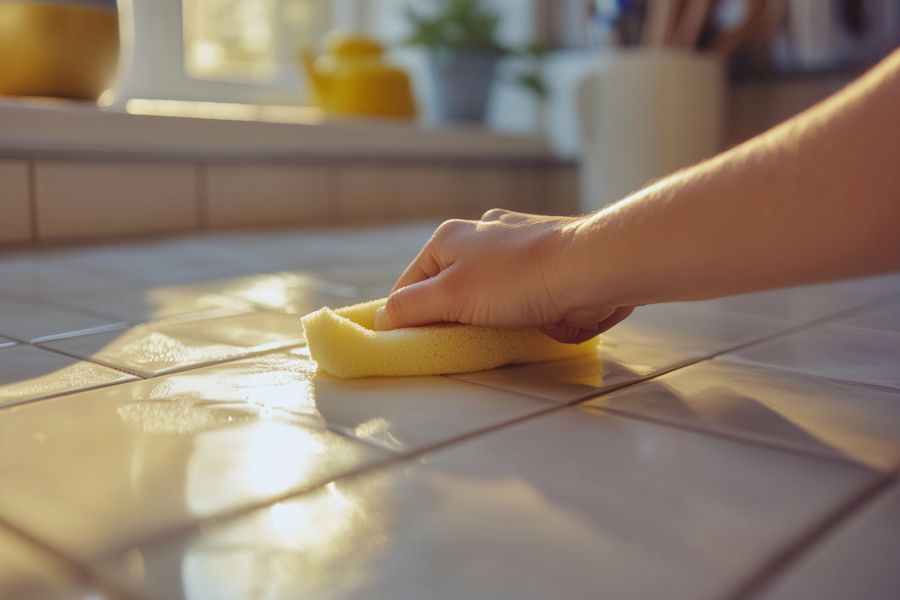
Grab a soft cloth, a bucket of warm water, and a sponge. Lightly dampen the sponge (no need to flood your floor) and gently wipe the surface. Think spa day for your tile, not power-washing a driveway.
This alone might do the trick for mild haze. If not, on to the next step.
Call in the Vinegar (Sometimes)
For cement-based grout (not epoxy), a 1:4 mix of white vinegar and warm water can help break down haze. Dampen your sponge with the mix and rub in small circular motions. Be sure to rinse well afterward to avoid leaving a vinegar film.
Important Note:If your tiles are natural stone (like marble or travertine), back away from the vinegar—acid and stone are NOT friends. In those cases, move right along to Step 4.
Use a Grout Haze Remover
When haze laughs in the face of vinegar water, it’s time to bring out the big guns—a commercial grout haze remover. These are formulated specifically for the job and won’t harm your tile (if used properly).
Follow the product instructions like they’re ancient scrolls of wisdom. Usually, it involves applying, letting it sit briefly, scrubbing lightly, and rinsing thoroughly. Still not glamorous, but very effective.
Rinse. Then Rinse Again.
Once the haze is gone, give the area one more pass with clean water to remove any leftover remover (say that five times fast). A microfiber cloth works wonders here to buff the tiles to a shine worthy of a home improvement magazine cover.
Don’t Want to Deal With It? We Got You.
If you’re already exhausted just thinking about it, don’t worry—that’s whyGrout Restoration Worksexists. We love this stuff. Seriously. We specialize in bringing back that just-installed glow without damaging your tile or your sanity.
So whether you’ve got haze, grime, mildew, or mystery tile issues—we’re your people. We see the shine beneath the haze. Contact us today, and let’s get your tile gleaming like it should. Clean grout lines, clear tile surfaces, and no ghostly haze in sight. Just the way it was meant to be
5-1-2025


